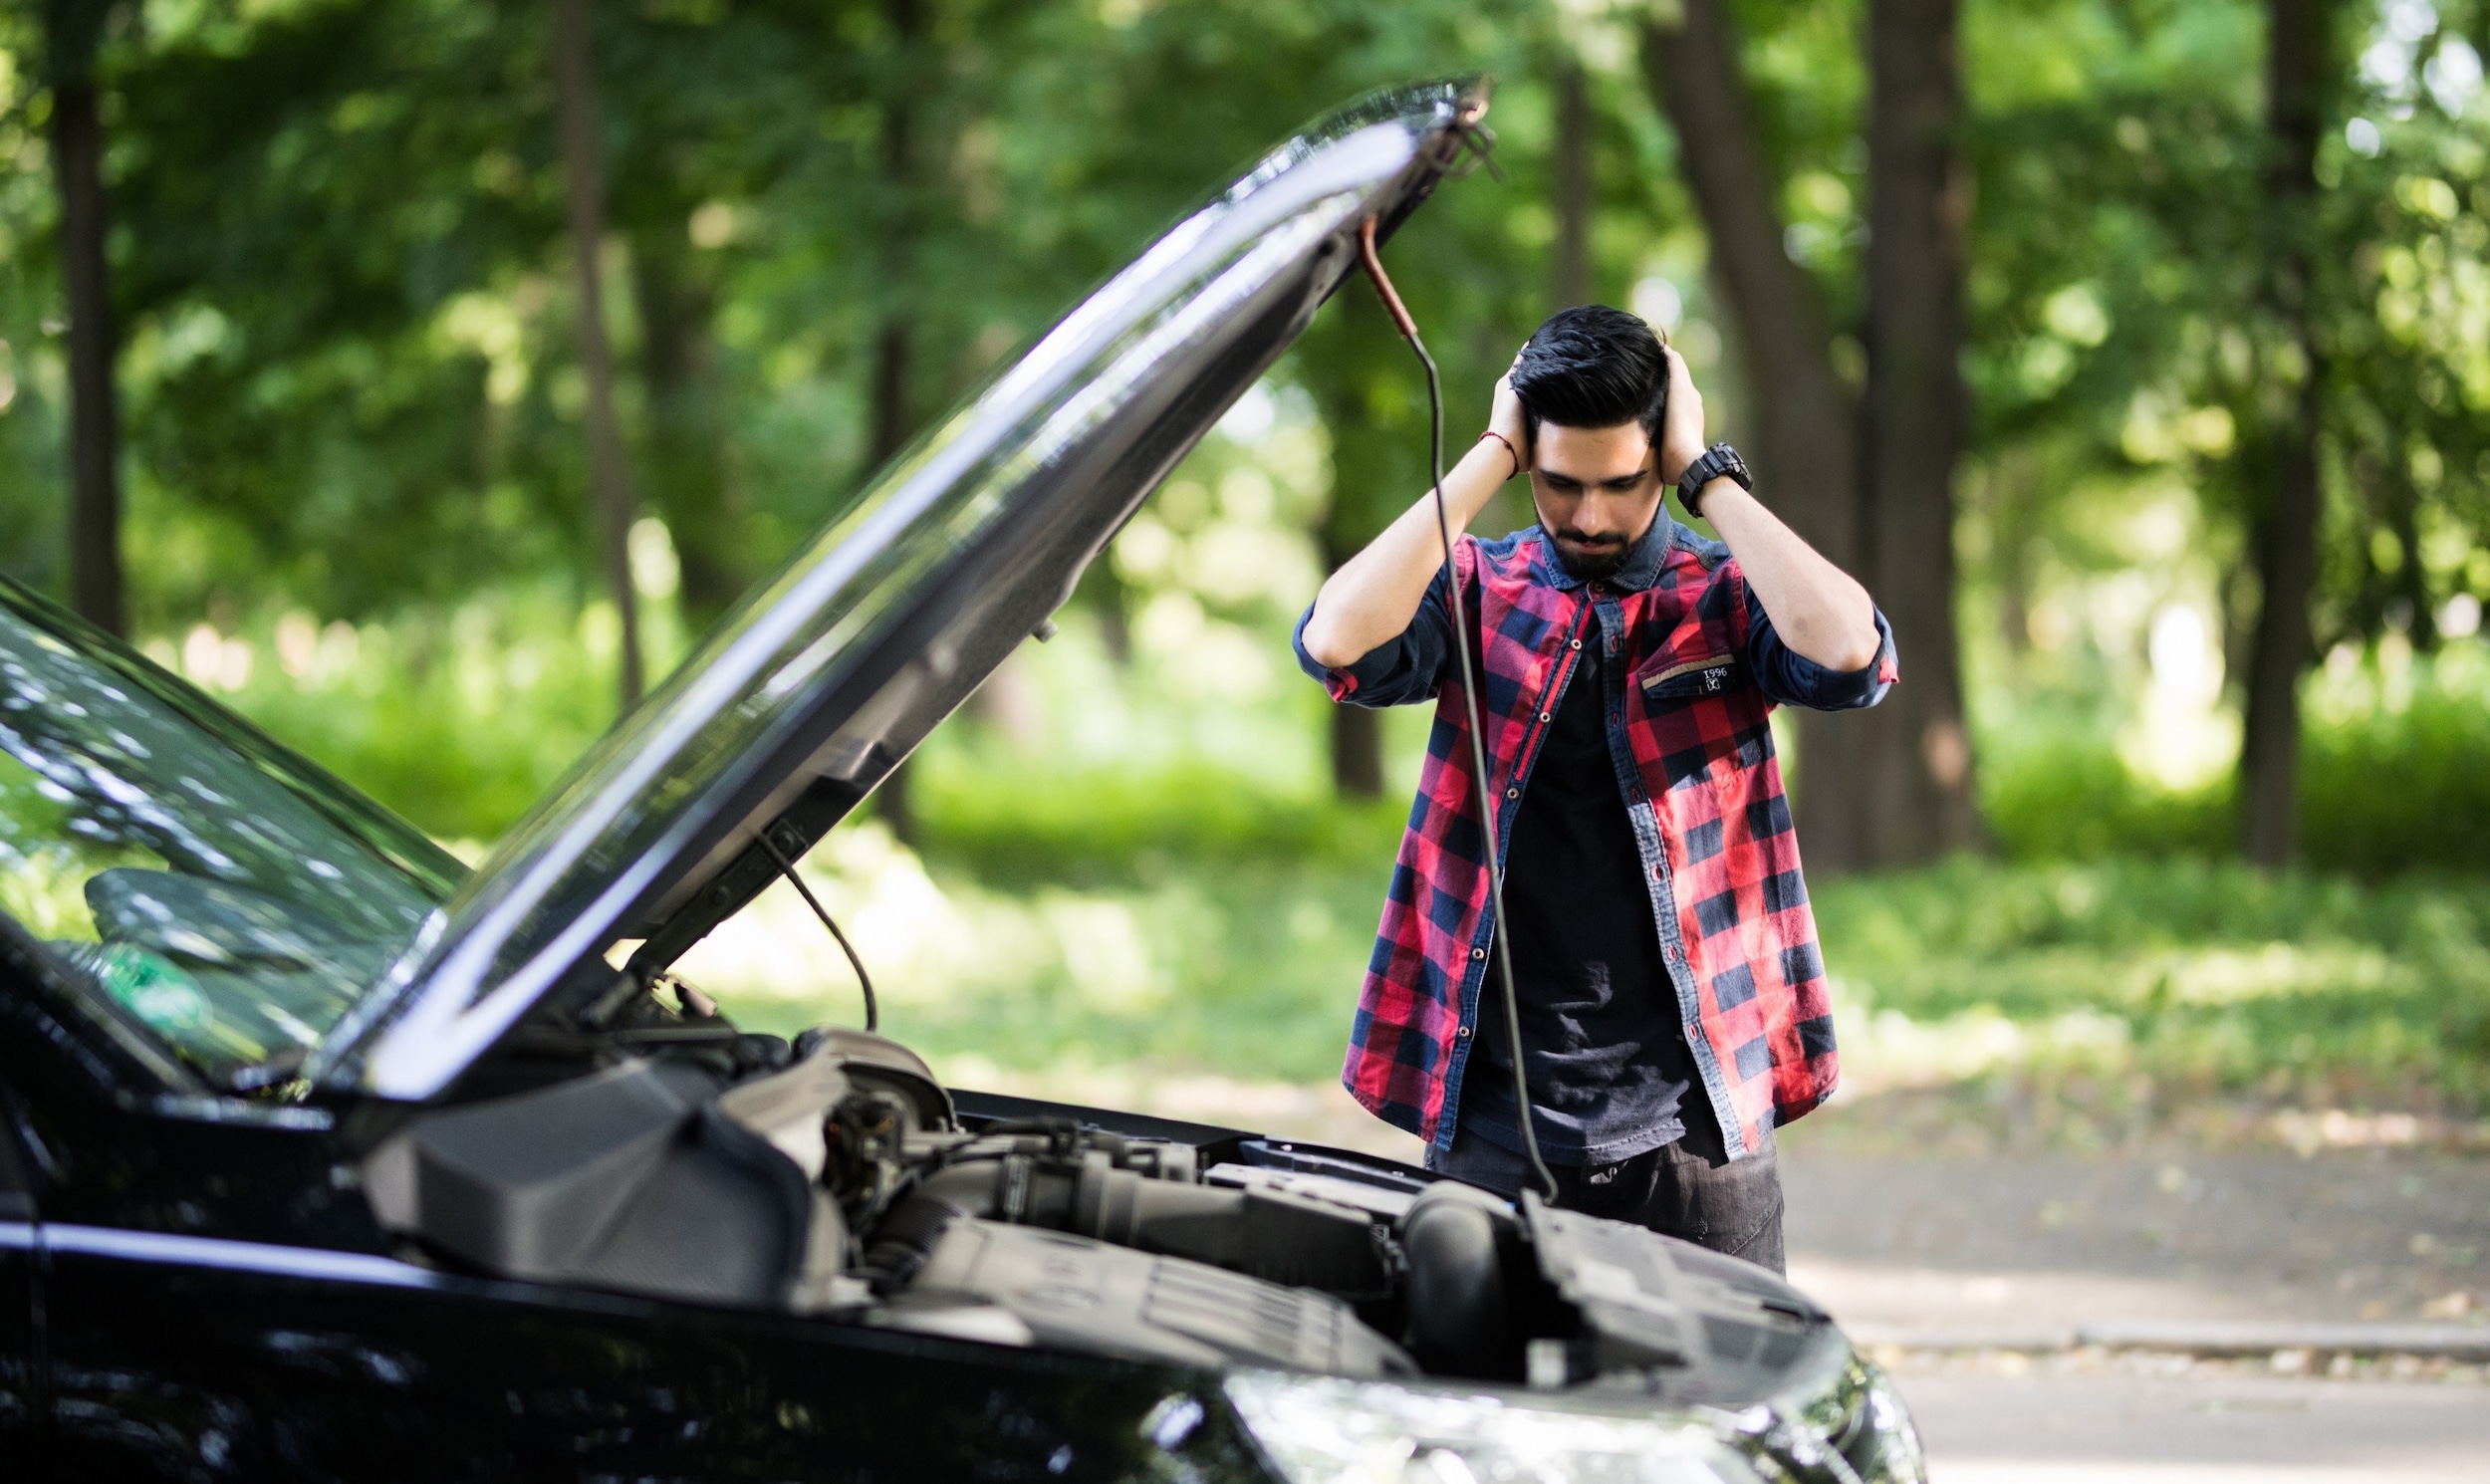
 Most of us have been there: you come out to your car, open the door, get in, turn the key, and… click-click-click-click-click. The telltale sign of a dead battery. Dread strikes your heart and you realize, “dang it, I’m probably going to have to ask a stranger to help jump the battery.”
Knowing how to properly jump start a car with another car is an essential skill for any driver to have, so let’s have a quick refresher for anyone out there who might’ve forgotten.
How Does Jump Starting Work?
It seems like magic when your once-dead battery is suddenly resurrected, but the science behind it is surprisingly simple.
Basically, you’re creating an electrical current between your dead battery and another not-dead battery, which we’ll call the “donor.” As long as the dead battery isn’t completely worn out or damaged, the current from the donor runs through the dead battery and gives it enough juice to start the vehicle. Essentially, you’re starting your car with the donor battery and bypassing the dead one altogether.
Once the car is running under its own power, the voltage regulator will signal the alternator to recharge the battery. So, as long as the battery is in good condition and the vehicle’s charging system is working properly, you’re good to go.
What You’ll Need
As long as you have the proper tools, jump starting a car is an easy process that can be done in five minutes flat. Here are some items you’ll want to keep in your car’s emergency kit:
- Jumper cables: The most essential component of the process, and something you should keep in your vehicle at all times. It’s a good idea to buy a longer set that measures around 15 to 20 feet.
- Prying tool: This will allow you to remove the terminal’s plastic covers without damaging them.
- Wire brush: In case there is corrosion on the battery, this will help you safely clean it off.
- Protective rubber gloves: These will protect from any potential sparking.
Jump Starting a Car: The Process
When jumping a car, whether you’re the one with the dead battery or you’re the one with the donor, it’s important to know the best operating procedure. Jumping a car in an incorrect manner can damage either battery, which means one or both of you will have to buy a new one. Worse yet, there’s a chance of injury due to electrical shock, and nobody wants that. So, let’s go through the steps of how to safely jump start a car.
Step One: Getting into Position
First thing’s first: you need to park the donor vehicle in a way that the jumper cables can connect. The classic form is nose-to-nose, but there’s always a chance that a car will die in an awkward spot that doesn’t allow for this, so you may have to throw ‘er in neutral and push it to a better spot. You can also circumvent this problem by buying longer jumper cables.
Step Two: Pre-Jump Checklist
Before you go connecting the batteries, let’s run through a quick safety check.
The main thing to check the batteries for corrosion, which is the salty-looking bluish-greenish-white stuff that can form on the terminals. Corrosion is a natural part of a car battery’s life, but if the corrosion is advanced, it’s probably time to buy a new battery. If a little bit of corrosion has formed, you can try to remove it by applying baking soda mixed with water and scrubbing with a wire brush, or simply brushing it off dry. When servicing the battery, the most important thing to remember is this: do not allow a piece of metal to touch both terminals at the same time.
At this stage, you should also check for any visible damage to the battery, including cracks in the side, leaking, or swelling. If you notice any of these, call a tow truck instead; don’t try to jump it.
One last thing: make sure both vehicles are turned off. While it isn’t necessarily dangerous to keep the donor car running, it negates the risk of potentially dropping the starter cables into a running belt or fan.
Step Three: Locating the Terminals
After both cars are in position and you’ve run through your pre-jump start checklist, find the battery terminals, which are the little nubs on top of the battery that read “positive” and “negative.” Red is the universal color for positive, and black is the universal color for negative, and they’ll also be marked with a “+” and “-” symbol. The terminals will likely have plastic covers over them for protection, so it helps to have a small tool handy to pry them off, because they can be a bit tricky on some models.
Step Four: Jumping the Car
Once you’ve located the terminals and gotten the covers off, it’s finally time to connect your jumper cables.
When handling jumper cables, it’s essential to make sure that the metal clamps of the cables never touch one another after they’re connected to a live battery. Doing so will likely cause sparking.
When you’re connecting the cables, here’s the most commonly recommended sequence to follow:
- Red to dead: Connect one of the red clamps to the red (+) terminal on the dead vehicle. To explain without getting too technical, connecting the red first minimizes the likelihood of a short circuit, which can cause damage to the battery or shock the person doing the connecting.
- Red to donor: Connect the other red clamp to the red terminal of the live battery. This completes the positive connection.
- Black to donor: Connect the corresponding black clamp to the black (-) terminal of the live battery.
- Black to metal: Connect the final black clamp to an unpainted metal component like a bracket or bolt. While many folks will connect the remaining black clamp directly to the black terminal of the dead battery, it’s generally recommended not to do so, because it can cause sparking.
Once all four jumper cable clamps are securely connected, it’s time to start the donor car. Let it run for about 10 to 20 seconds before attempting to start the dead vehicle.
Now, it’s finally time to finish the job. Say a little prayer, then start the dead vehicle.
Step Five: Finishing the Job
If everything worked the way it’s supposed to, congratulations! Your car is now running under its own power.
At this point, do not turn the car off. After jump starting a car with a dead battery, you need to let it run for at least a minute or two to allow the alternator to properly return a healthy amount of charge to the battery cells. This is also a good chance to check for any lights you’ve left on, which is one of the most common causes of a dead battery.
Once the car is running, you can safely remove the cables. Following all of the previously mentioned safety tips, disconnect the clamps in the reverse order that you connected them.
After you’ve let the car run for a bit, it’s a good idea to shut the engine off then turn it back on to see if it starts on its own. If it doesn’t, it could indicate a problem with the charging system, in which case you’ll need to bring your car in for service.
However, if it passes the final test, you can pat yourself on the back because you have successfully jump started your car.
What to Do if You Jump Start the Car and it Doesn’t Work
If you follow all of the steps, crank the key, and the car doesn’t come back to life, it’s possible that one of the jumper cables wasn’t connected properly, so be sure to triple check that your clamps are securely fastened.
Unfortunately, there’s always a chance that the battery is simply too dead to jump start, which means you’re going to need it replaced. If you’re in South Florida and looking for battery replacement, give Braman Hyundai a call at (786) 623-4261 and we’ll have you back on the road in no time. We offer easy service financing, so you can fix your ride without worrying about breaking the bank.
